
Visual Studio Code でデバッグする方法について説明します。
動作確認環境:Windows 10
今回は Python モジュールを使います。
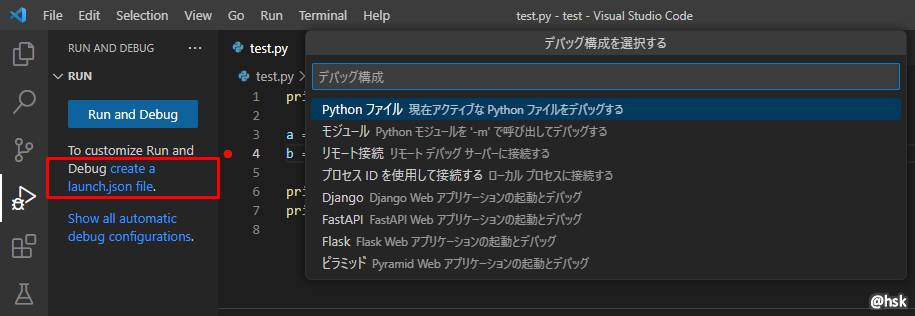
デバッグ方法
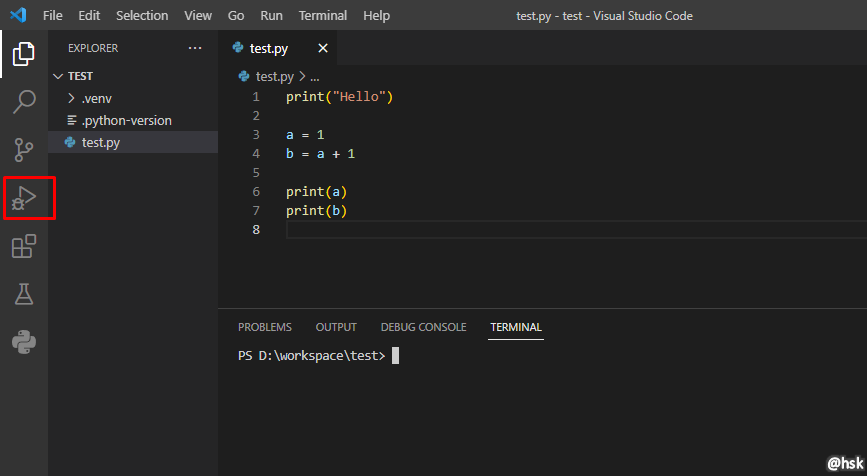
1.左側の「実行とデバッグ」をクリックします。(Ctrl + Shift + D でも可)
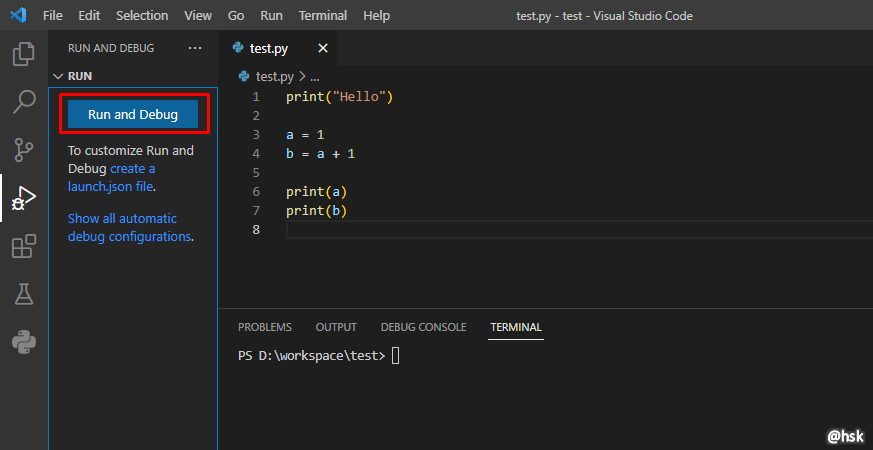
2.「Run and Debug (デバッグして実行)」をクリックします。
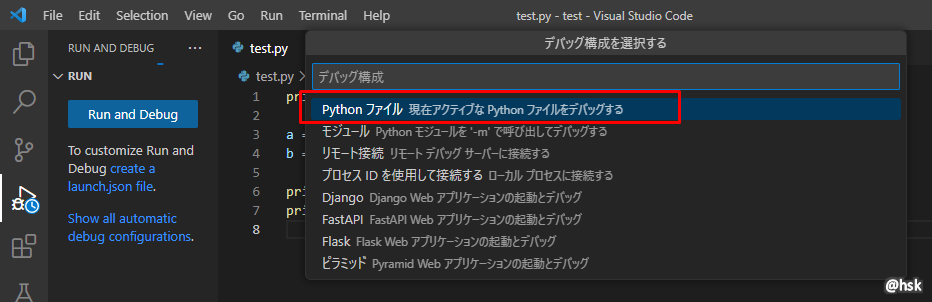
3.デバッグ構成から実行モジュールに合わせて選択します。
今回は Python モジュールなので「Python ファイル」を選択します。
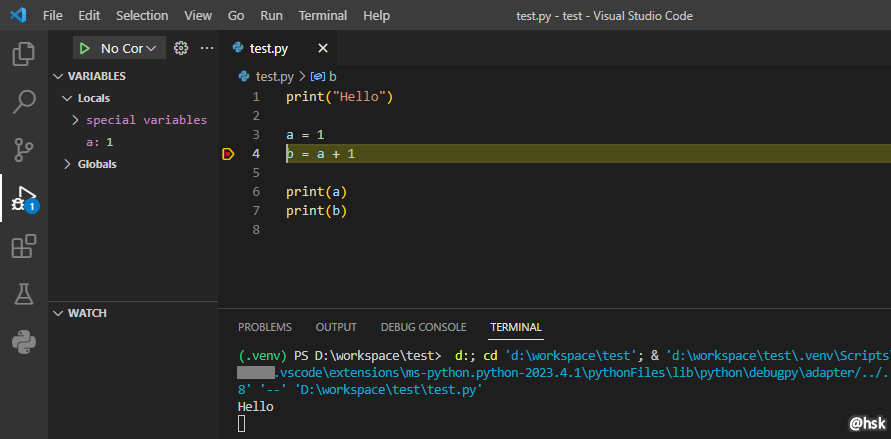
モジュールが実行されます。
行番号の左をクリックしてブレークポイントを貼ることで実行途中で停止させることができます。
構成ファイルを作成
デバッグ構成ファイルを作成してデバッグ構成を保持する方法について説明します。
デバッグをすぐに実行でき、設定もファイルに保存されるので便利です。
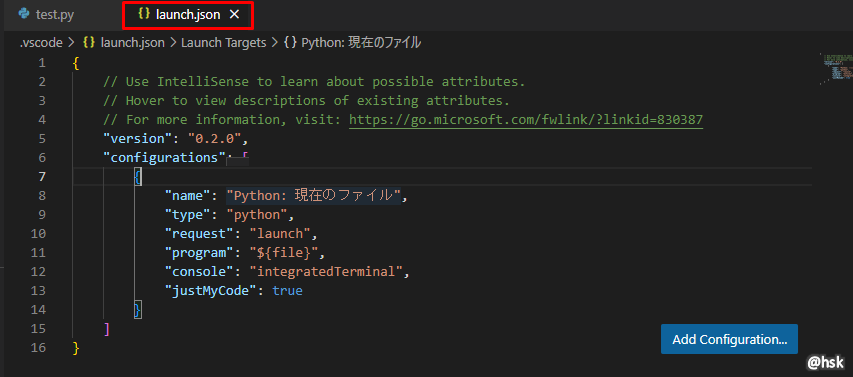
1.「create a launch.json file」をクリックしてデバッグ構成を選択します。
2.「launch.json」ファイルが作成されます。
「configurations」に dict 形式でデバッグの設定が記載されています。
適宜設定を変更して保存することでその設定でデバッグが実行できます。
3.実行したいファイルを開いて「実行とデバッグ」機能から「RUN AND DEBUG」の▶をクリックすることで選択した構成でデバッグが実行されます。
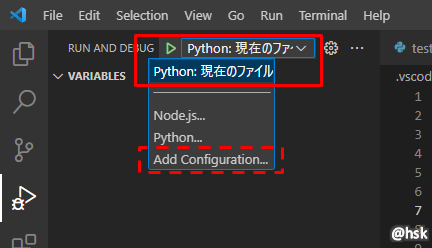
新しく設定を追加したい場合には「Add Configuration…」をクリックすることで構成を追加できます。